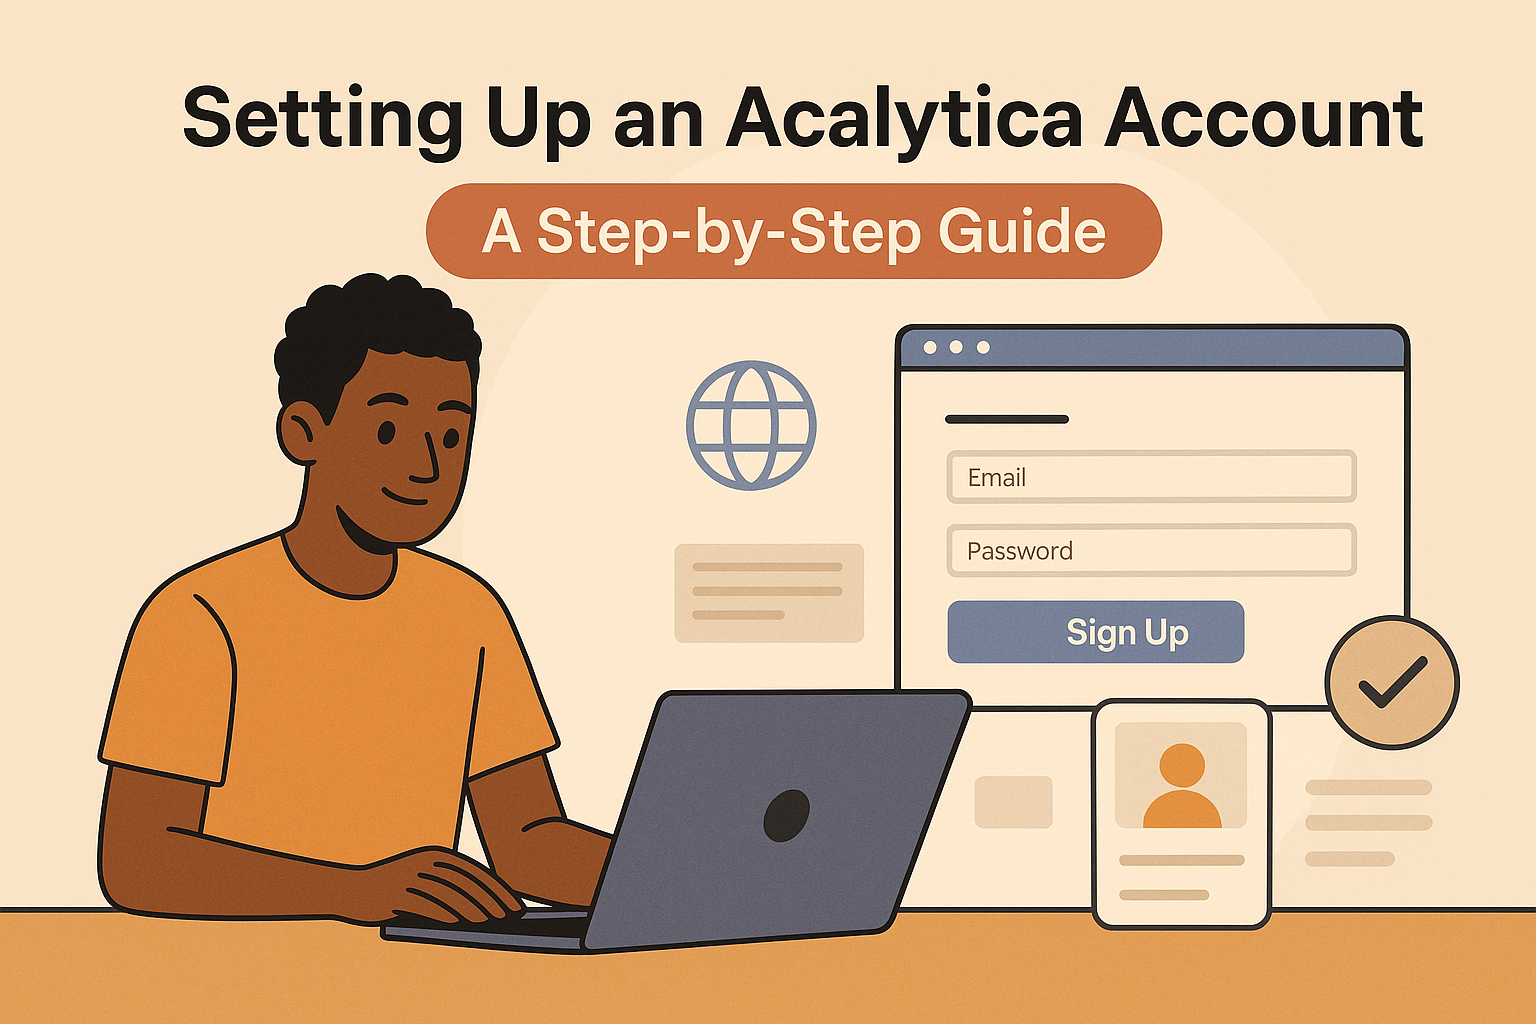
Creating an online presence is essential in today’s digital economy—whether you're a creator, small business, coach, NGO, or artisan. Acalytica makes it effortless to launch a powerful, mobile-optimized one-page site and start offering products, services, or content—all for free. This guide walks you through the quick process of setting up your Acalytica account and highlights how you can immediately begin growing your digital footprint.
🛠️ Step 1: Visit the Website
Head over to https://acalytica.com, where you'll find a clean and intuitive homepage.
Click on “Get Started Free” or “Sign Up” in the navigation menu.
🧑🏽💻 Step 2: Choose Your Setup Option
You’ll be given a few choices:
- Email Registration: Enter your name, email address, and create a password.
- Google Login: For a faster option, you can sign up with your Google account.
✅ Pro Tip: Signing up with Google can streamline your login and improve security.
🎨 Step 3: Create Your First Page
After logging in, you'll land on your Dashboard. Click “Create New Page” to get started.
Choose a template or start from scratch. Options include:
- Biolink page (great for social media)
- Storefront for selling digital or physical products
- Course landing page
- Donation or event registration page
You can customize:
- Page title and slug (e.g.,
acalytica.com/yourname) - Profile image and cover photo
- Links, buttons, embedded videos, music, and more
🔌 Step 4: Add Blocks & Tools
With Acalytica’s block-based builder, you can drag and drop elements like:
- Contact Forms
- Social Proof widgets
- SEO blocks
- Payment blocks
- Product embeds
- Analytics
It’s entirely no-code. You’re in full control without needing to hire a developer.
💸 Step 5: Connect Payments (Optional)
If you want to sell products or accept donations, head to the Payment Processors tab in your dashboard.
- You’ll be prompted to enter your bank details (for South African users) or link Stripe if you're international.
- Acalytica handles payouts automatically, retaining a small transaction fee (currently 6%).
📊 Step 6: Enable Insights
Activate Web Analytics to track:
- Page visits
- Device types
- Click-throughs
- Geographic location of your audience
Analytics are visible right from your dashboard, giving you real-time feedback on your content’s performance.
✅ Step 7: Publish and Share
Once your page is ready:
- Click Publish
- Copy your custom link (e.g.,
https://acalytica.com/janedoe) - Share it across your socials, email signature, or print as a QR code
You can also embed it on a blog, share via WhatsApp, or use it as your link-in-bio tool.
🔄 Update Anytime
Your Acalytica page is living digital real estate. Update your blocks, change the design, or switch out products anytime. You can also create multiple pages for different campaigns or services.
🎯 Why Acalytica?
- 100% Free Forever (as of June 2025)
- Ideal for creators, NGOs, educators, artisans, and small businesses
- Mobile-first and optimized for Africa and emerging markets
- No-code but powerful
📺 Watch the Full Walkthrough
🌐 Get started today at https://acalytica.com